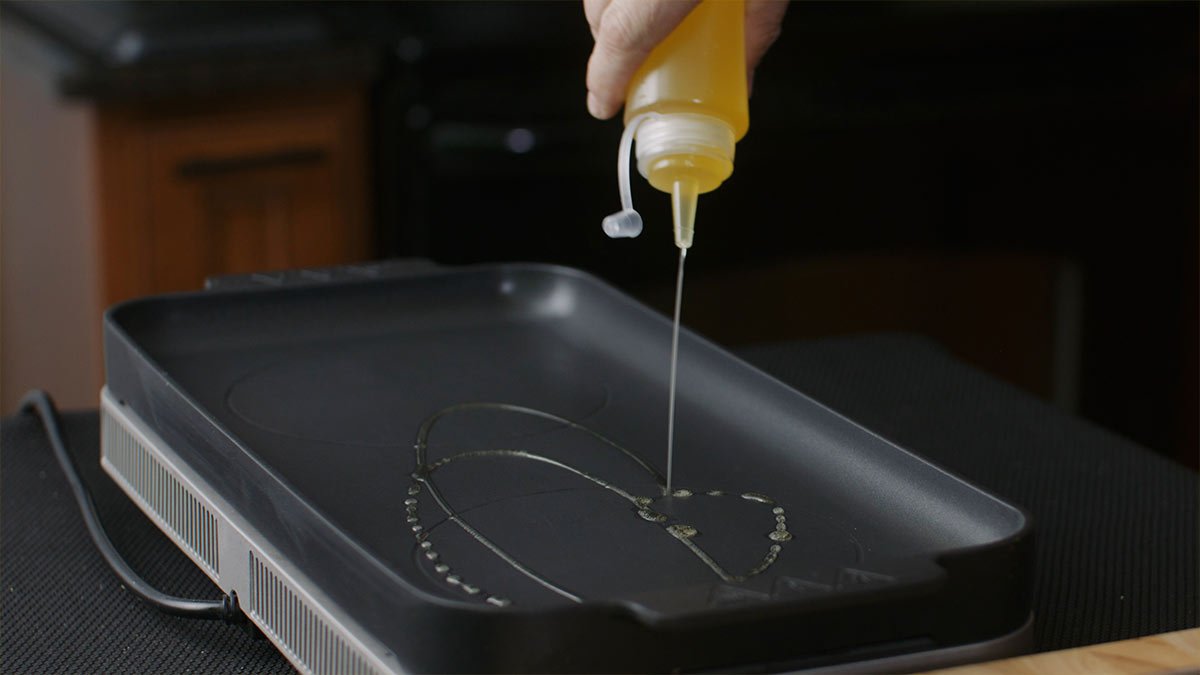
How to Make Clarified Butter
Clarified butter is a key ingredient featured in many of my recipes, and it’s about to take center stage in an upcoming series on my website called 'Kitchen Staples.' In this series, I'll be showcasing essential items commonly used in professional kitchens, starting with clarified butter and exploring its many applications and benefits.
Perfect Every Time!
Clarified Butter Recipe
Ingredients:
2 pounds of unsalted butter
Equipment:
Heavy-bottom pot
Cheesecloth Rubber band
Bowl
Plastic squirt bottles (optional)
Method of Preparation:
1. Prepare the Pot:
Use a heavy-bottom pot to prevent the butter from burning.
Set your stove to low to medium-low heat.
Cooking slowly is key.
2. Cut and Melt the Butter:
Cut 2 pounds of unsalted butter into smaller pieces.
Place the butter in the pot.
3. Melt the Butter:
Allow the butter to melt slowly. You will notice froth forming on top.
4. Simmer:
Maintain a low simmer to avoid the butter boiling over.
The froth will start to separate from the butter. Continue simmering for 5-7 minutes.
5. Separate Milk Solids:
After about 10-15 minutes, the butter will start to become clearer, but milk solids will still be present.
Continue to simmer for an additional 5 minutes or until the milk solids turn golden brown and settle at the bottom.
6. Strain the Butter:
Prepare a bowl with cheesecloth secured with a rubber band.
Gently pour the melted butter through the cheesecloth into the bowl, straining out the milk solids.
7. Store the Butter:
Pour the clarified butter into plastic squirt bottles or any preferred container.
Store the clarified butter in the refrigerator.
When ready to use, microwave the butter for 90 seconds to re-liquefy.
Tips:
Always use low heat to prevent burning the milk solids.
Clarified butter can be stored in the refrigerator and reheated as needed.
Clarified butter has a higher smoke point, making it ideal for cooking and sautéing.
Enjoy your clarified butter with a slightly nutty flavor that enhances the taste of your dishes!


